Monday, October 31, 2011

Helping Out A Friend - Kimono Wall Hangings

A friend of mine was making these Kimono Wall Hangings a few years ago and only got them finished to a certain point.  They were pieced, the sandwiches made and stitch in the ditching was done.  She developed arthritis in her thumbs and now has a hard time hanging onto the quilts to be able to guide them to do free motion quilting or to follow any kind of quilting pattern.  So I volunteered to help her get the quilting done. 

There are 4 wall hangings in total, 2 of each style.  Here is the first one that is completed.


In the border I went with a stylized chrysanthemum pattern.  This pattern I'm using in all four wall hangings.


Then in the sleeves of this style of wall hanging I quilted koi fish.


I also did koi fish in the cream coloured areas of the wall hanging.


Here is the second one that is completed.


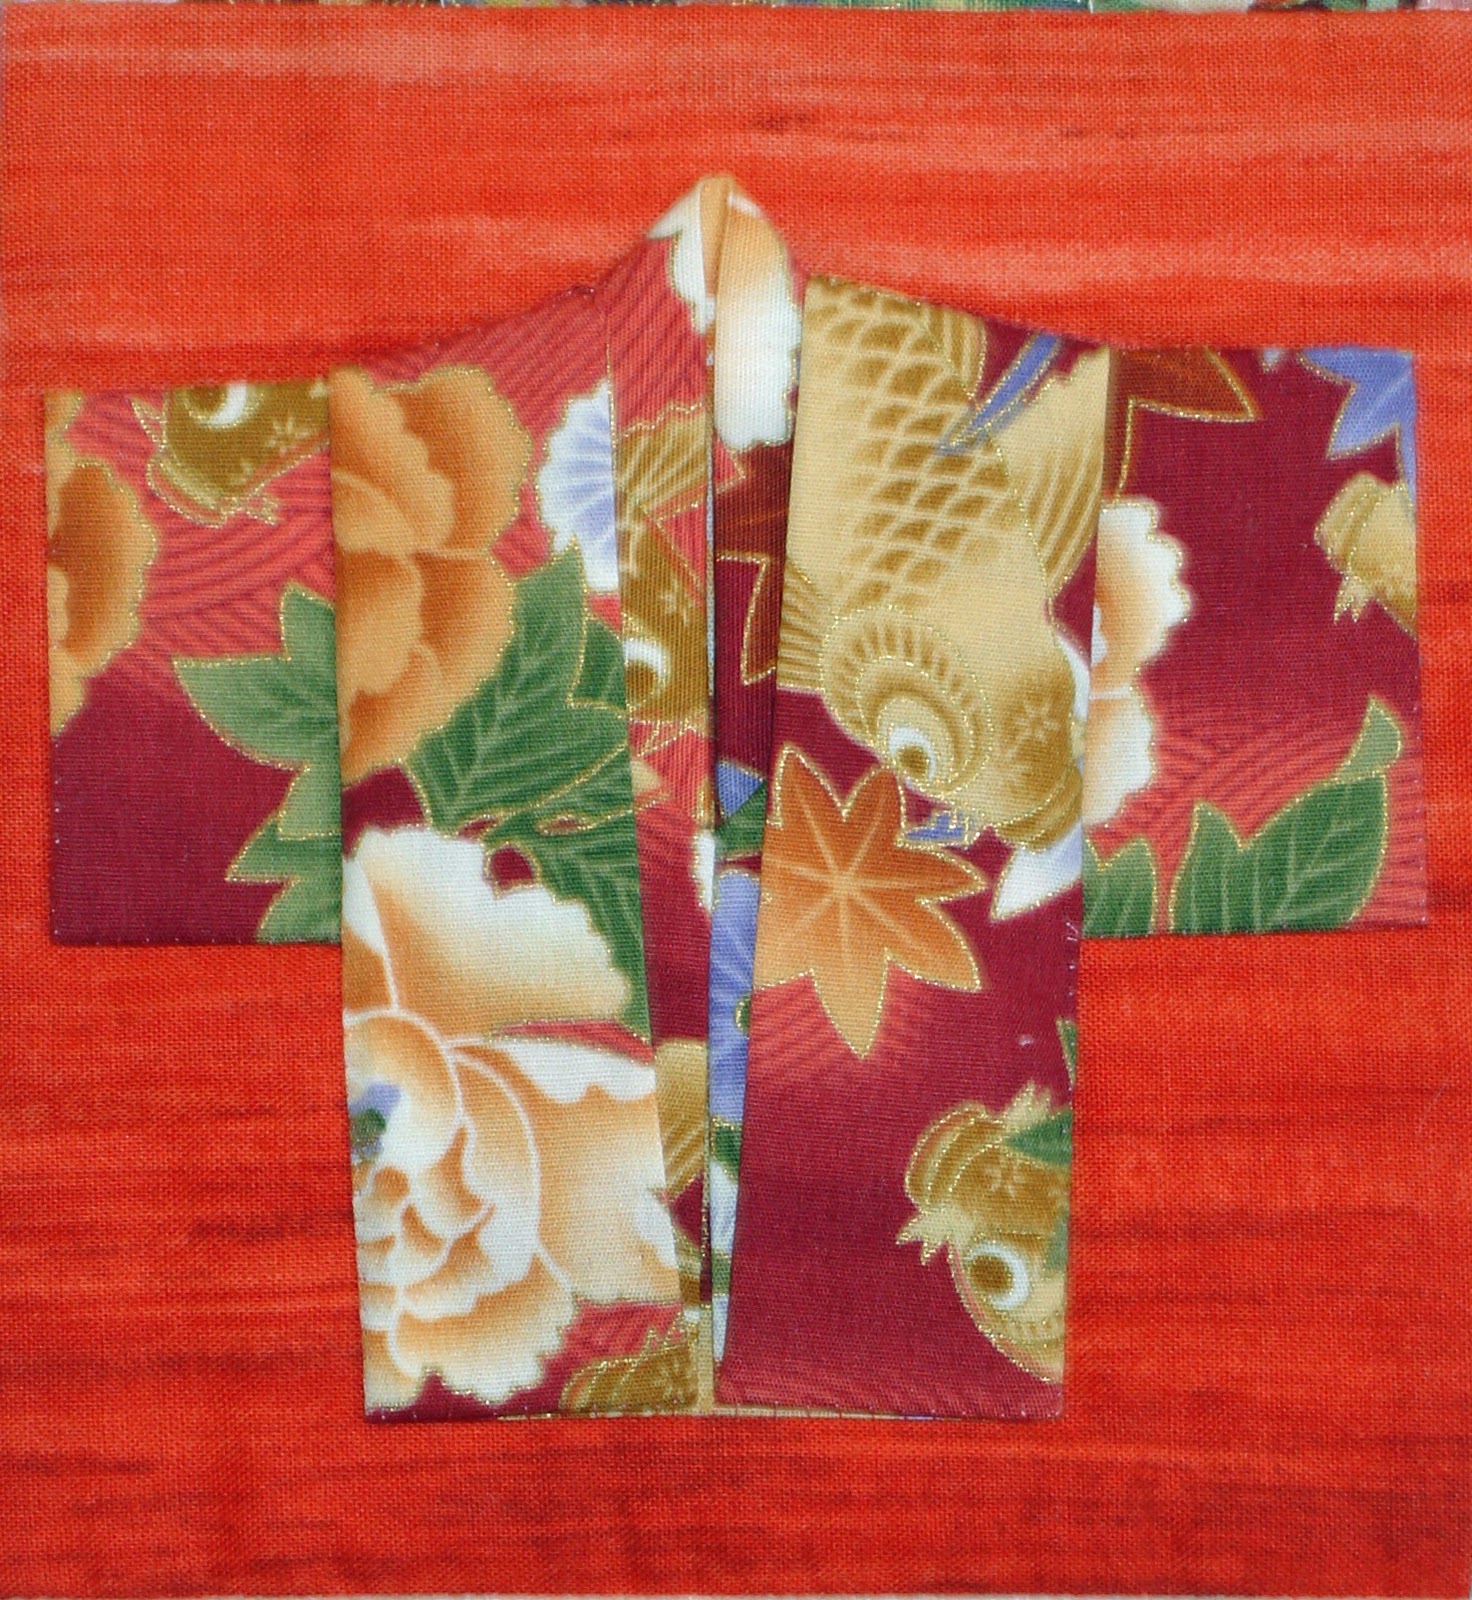
On the sleeves and at the bottom of the kimono there are small fabric origami kimonos that were hand appliqued to the wall hanging.  My friend picked them up at one of the yearend sales that were held at our quilt guild.


Then in the cream coloured areas of this style of wall hanging I quilted Japanese maple leaves.


So I now have 2 left to do, one each of the above styles. This has been a fun project, it gave me some more practice on my quilting skills and fortunately they were a manageable size.

Sunday, October 23, 2011

Wild Mustang - Part 11

The Wild Mustang is finished.  I got the binding on a few days ago and the label is on but the last couple of days we had a lot of dark and stormy weather which made it difficult to take any decent pictures.  Today the sun finally came out and I got my picture of the finished wall hanging.  Here it is.


Here is a picture of the back. The light Stongehenge fabric at the top is the hanging sleeve, I unfortunately didn't have enough of the darker fabrics left for a sleeve.


For anyone in the Toronto area or will be in the city on November 11 - 13 and would like to see the Wild Mustang along with lots of other great quilts, it is going to be at the York Heritage Quilters Guild Show.  You can get details at the show's web site at: http://www.yhqg.org/Celebration/quiltshow2011/celebrationXI.html

So what's next you may wonder.  I figure it's time to go back and work on the poppy wall hanging that I started in the spring time.

Friday, October 14, 2011

Wild Mustang - Part 10

I finished the border quilting on the Wild Mustang quilt yesterday.  I was quilting a horse head motif with a flowing mane.  Here is what it looks like.  If you click on the picture you should be able to see it a bit better.


The horse heads just circled around the whole quilt. 

Today I got the binding attached and now I just need to get the hand sewing done and get the label attached.  So it's almost done.

Tips & Tricks - Joining The Ends of The Binding

I have been asked by a couple of my quilting friends how do I join the ends of my binding.  I have to admit that it did take me awhile to learn and in the end I actually had to figure it out on my own.  I looked it up on the web and most of what I saw didn't quilt make sense to me. A friend recommended a book Called Rotary Magic by Nancy Johnson-Srebro which really is a good overall reference book, and it helped me almost get there. But I still managed to mess it up by either getting the two ends twisted, or sewing it inside out, or I ended up with too much binding or not enough.  I had a friend help me, I watched her a couple of times and still no luck. So one day I sat down with the Rotary Magic book and tried to figure out where I was getting stumped and tried to come up with a way that would work for me.  After several attempts I was successful and ever since my bindings come out every time, never twisted and always the right size.  So here is my step by step instructions for how I join the ends of the binding.

First make sure you leave a good 15 inches of binding before you start sewing it on and when you come to the end leave 15 inches of working space between where you start and end the inital sewing of your binding. I found that this really makes a big difference instead of the usually 8 - 12 inches.


Next take the right hand strip and unfold it so it lays flat against your cutting board.


Place you 6" square ruler on point and the middle line is lined up against the left hand side of the strip and the first inch of the ruler is above the bottom of the quilt.


Take your rotary cutter and cut along the diagonal at the bottom of the ruler.


Your right hand strip should look like this.


Take the left hand strip and place it along the edge of the quilt. Carefully flip open just the top layer and take a pin and pin down the bottom portion where the binding is attached to the quilt (left hand side) and again at the opposite end (right hand side).  (click on picture for better details)


Now carefully fold over the left hand side and pin it about 2 inches from the first pin.


Bring the left hand strip of binding and lay it on top of the opened up binding.


Lay your 6 inch ruler over the edge of the left hand strip.  Draw a line across the entire back of the right hand piece to mark where the left hand piece ends.


Draw two more lines 1/4" apart from the original line that you drew going towards the unattached end of the right hand binding piece. (click on picture for better details)


Cut off excess binding.


Lay the 2 binding strips back on top of the quilt in their normal positions.


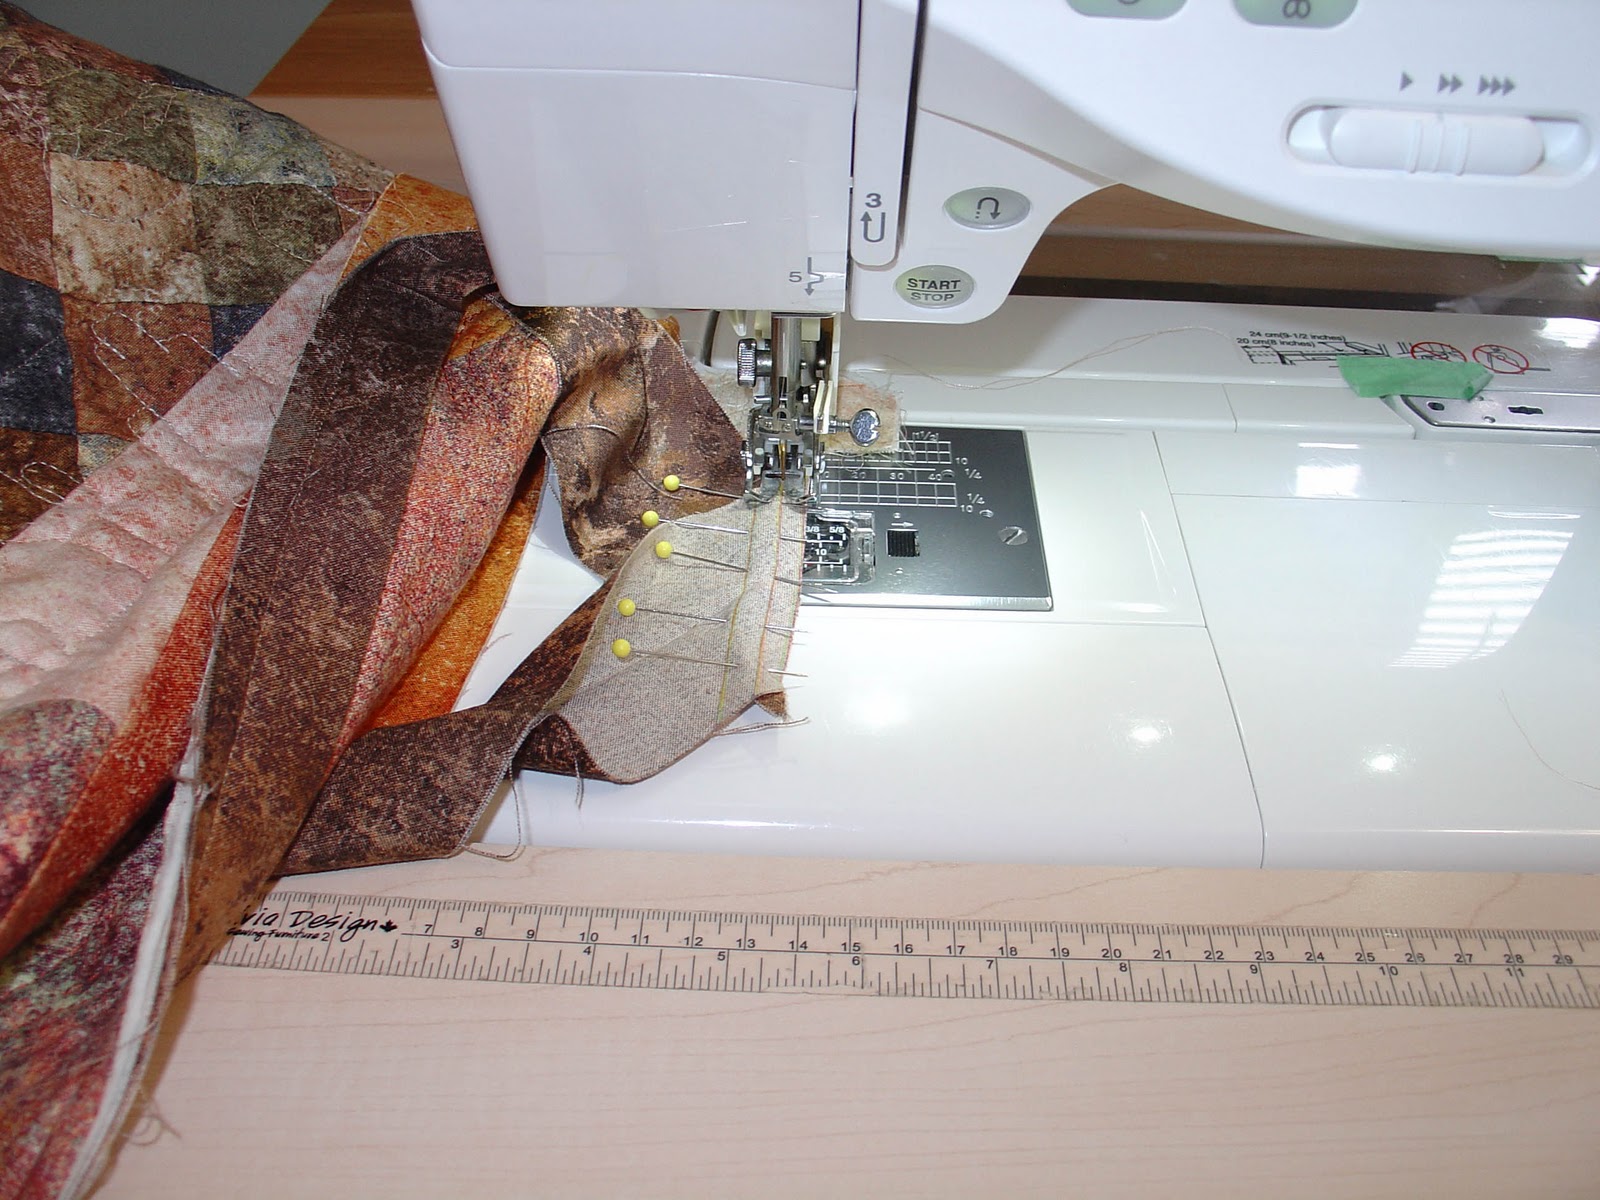
Bring the right sides together of the right and left hand binding strips and flip so that you now have the wrong side facing you.  If you scrunch your quilt here it will be easier.


Place a pin in the middle and at either end.  At the ends you will notice that you will have points extending beyond the regular line of the binding.  This is the way is should look.  See areas in green circles. (click on picture for better details)


Add a couple of extra pins to ensure nothing shifts.


Now you sew down the middle line of the three that were drawn.


Take the pins out and finger press the seam open.


Fold the binding back into position and check to see that it is the appropriate length.  At this point you can trim the points.


Now finish sewing the rest of the binding.  As you can see from my binding it was the right size for this quilt.


I hope that is has been of help and if you have any questions please feel free to ask and I will try to help you out.

Tuesday, October 11, 2011

Wild Mustang - Part 9

I finally finished the quilting on the background portion of the Wild Mustang quilt.  Yes it has taken some time for a wall hanging but then it took some time to finally make a decision as to what I was going to quilt in this area.  Initially I was planning on an all over pattern but as I was testing out various options on paper I started to think that they were all going to be too busy for what I was envisioning for this wall hanging and would likely compete with the main focus the horse.

So I left it for a few days when my friend and quilt buddy Sue from Long Island suggested why don't I just keep it simple and do stitch in the ditch.  Well that would be easy and it wouldn't complete with the horse so I started my stitch in the ditch work. While I was working on the quilt I realized that these fabrics really reminded me of Arizona, the desert and red rock country.


With that it came to me what I needed to quilt on the background.  In the top and bottom row of the background I did a desert scene with cacti and rock formations. If you click on the picture you will be able to see the details better.


Then scattered throughout the rest of the background I did an assortment of petroglyphs and native symbols such as the sun, bear, kokopelli, turtle, medicine man, pots, horse, thunderbird, feathers, etc.  Here are a few samples that I was able to photograph where the images came out.  I quilted these with a variegated thread called natural stone so it really does blend into the background fabric and doesn't complete with the horse.


So now I'm started to work on the border quilting which will be a series of horses heads with flowing manes going around the quilt.

The fall leaves are just starting to turn here and they are looking really beautiful.  This is a really beautiful time of year and this past week we have had amazing weather. I wish it  could stay like this for several more months.  Here is a picture of the trees from my balcony.

Friday, September 23, 2011

Wild Mustang - Part 8

I've been working on the quilting of the horse section and that is now complete.  First I just quilted around the various sections of the reverse applique so on the front those quilting lines actually blend in with the applique stitches but when you actually look at the quilt those areas start to take on that puffy look of quilting.  Then I did 3 rows of echo quilting around the image of the horse and that is now completed.  Here is what it looks like at this stage.


One thing I have to say is that I have really enjoyed working with the hand basted quilt sandwich.  Using Sharon Schamber's technique of the herringbone basting stitch has kept all the layers together and nothing has been shifting which is really a nice treat.

So now that this portion of the quilting is done I now know how much background space I have left and will be planning out the background quilting this weekend. Also I want to share this picture of Fergie who decided to take a nap on the quilt while I stepped away for a break.

Sunday, September 11, 2011

Wild Mustang - Part 7

I finished putting together the quilt sandwich. What do you normally do to hold your quilt sandwich in place?  Since I quilt on my domestic sewing machine I typically use both the spray basting spray and then pin my top with medium size safety pins.  The reason for this is with all the folding and unfolding that my quilts go through, I find that just pinning doesn't give them enough stability and the layers tend to shift.  If I use just the spray baste spray often towards the end of the quilting process there are areas where the glue is starting to unstick because I don't like to use a heavy application of the stuff.  So using both has typically worked for me in the past.

Well with the Wild Mustang quilt it has so many additional layers in it that pinning with medium safety pins was completely out of the question and the spray glue would only hold the layers that were against the batting.  So I figured that this quilt needed to be hand basted which I have never done before.

I started to get my various tools together and then my friend Elizabeth ( http://sandandsunshine.blogspot.com/ ) informed me that she had seen on someone else's blog these long sewing needles that might be of interest.  So I did some research and sure enough there are special needles for hand basting quilts.  I went to my LQS and was fortunate to get their last package.  This is the exact type that I got and they really did make a difference from just using the longest regular needles that I had ( http://www.amazon.com/Dritz-Quilting-Quilters-Basting-Needles/dp/B001UAH1GK ).  These ones are almost 4" long and more sturdy than your regular needle yet still fine enough that it doesn't leave big holes in the fabric.

So I started to baste my quilt, got a few rows done and then thought perhaps there is a better stitch to use than the simple running stitch that I was using.  I then did a search on the net and found these 2 videos ( http://www.youtube.com/watch?v=bhwNylePFAA and http://www.youtube.com/watch?v=k_EjBGz5vGQ ) by Sharon Schamber and they were very informative and I decided to use her technique with the herringbone basting stitch (details in the second video). She also had some other interesting suggestions about how to prepare a quilt for hand basting which I will likely try the next time I need to do hand basting of the sandwich.  I found that the basting went fairly quickly considering all the layers that I was working with.  Here are a couple of pictures of what this stitch looks like. 


This week I will be working on the actual quilting.